

Animations that answer back.
Make an animation that reacts to a pointer, a key or a switch in your browser, nothing uploaded: a state machine, in plain words, saved as a .riv file.
By Suraj Kumar7 min read
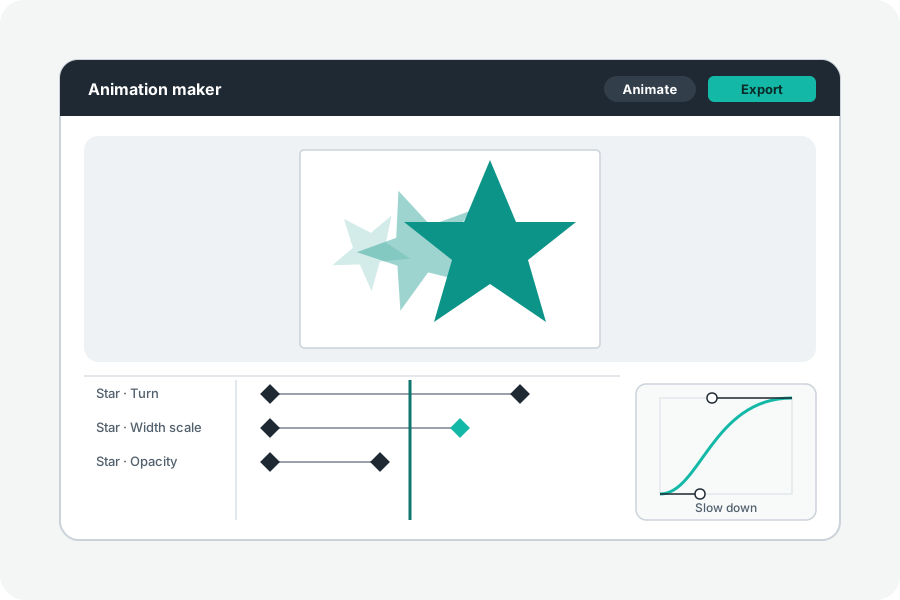
Most animations play the same way every time. An interactive one waits and answers: it lights up when you point at it, presses down when you click, and turns when a number changes. The Animation maker builds that with a state machine, in your browser, and saves it as a .riv file with nothing uploaded.
A state machine, in plain words.
A state machine is a small map of what an animation can be doing. Each place on the map is a state, such as resting, pointed at or pressed. Arrows between them are transitions, and each says when to move along it.
The animation stays in one state until a transition's conditions hold, then mixes into the next. Nothing else decides what plays: the map does.
Inputs: what the outside world sets.
Inputs are the machine's controls. A switch is on or off, such as Hover. A number holds a value, such as a level from 0 to 100. A trigger fires once, such as Press, and is spent as soon as a transition uses it.
Transitions read inputs in their conditions: go to Hovered when Hover is on, go to Pressed when Press fires, go to Full when the level is over 90. A website or an app sets the inputs, and so do the machine's own listeners.
States, layers and mixing.
A state plays one of the project's timelines. A state can also mix several timelines by a number, along a line from one to the next or each by a weight of its own, so a level of 40 can sit between empty and full. A state can add its movement on top of what is already playing instead of taking its place.
A machine has layers, and each layer runs its own states at the same time as the others: one layer for a button's colour, another for its size. A transition can wait for an exit time, so a timeline finishes first, and it mixes the two states over a duration with an ease of its own.
Listeners: the pointer, keys and more.
Listeners watch for something happening to a part of the artboard: the pointer going down, up, in, out, moving, clicking or dragging on it; a key being pressed; the part taking or losing keyboard focus; a gamepad button. When it happens, a listener sets an input, fires a trigger, sends an event or moves a part to where the pointer is.
A joystick plays two timelines from one handle you drag, one for across and one for up and down, which suits eyes that follow the pointer or a dial.
Events tell the page what happened.
An event is a message the animation sends out, such as Done or Liked, for the website or app to act on. An event can also ask to open an http or https address; the page that plays it decides whether to.
New eases come with this too: a cubic curve drawn in the values themselves, and Stagger, which offsets the keys of several parts in turn so they start one after another.
Try it before you save it.
Try it plays the machine right on the artboard. Point at it, click it and press keys, and it answers as it will in a website or an app. Change something and try again.
The interactive button maker opens on a button that already does this, with a Hover switch, a Press trigger and listeners for the pointer, ready to change.
Saved as a .riv, and checked.
Export asks where it will go. An interactive animation for a website or an app writes a .riv, the file Rive's runtimes play. Before it is offered, Rive's own runtime reads it back: its artboards, animations, state machines and inputs, and its frames compared with the editor's. The result shows a few lines of code that play it on a page with the @rive-app/canvas npm package, and says what the file could not hold.
A .riv made here is made for Rive's runtimes, and Rive's editor may not open it. Nothing of Rive's is added to the file, no splash screen and no mark. A video, a GIF or a Lottie holds one timeline, so it plays one way; the state machine is kept in the .riv and in the project file.
import { Rive } from "@rive-app/canvas"

const rive = new Rive({
  src: "button.riv",
  canvas: document.querySelector("canvas"),
  stateMachines: "Button",
  autoplay: true,
  onLoad: () => rive.resizeDrawingSurfaceToCanvas(),
})
Further reading
- Rive: State machine overview (opens in a new tab)
- Rive: Inputs (opens in a new tab)
- Rive: Layers (opens in a new tab)
- Rive: Listeners (opens in a new tab)
- Rive: Events overview (opens in a new tab)
- Rive: State machine playback (opens in a new tab)
- npm: @rive-app/canvas (opens in a new tab)
- MDN: Pointer events (opens in a new tab)
- MDN: Keyboard accessible (opens in a new tab)
- MDN: Gamepad API (opens in a new tab)
Topics: interactive animation · state machine animation · animation state machine · hover animation · interactive animation maker · riv file · animated button
A little less theory. A little more doing.
Try it on your own terms, with a free browser tool.
Try the tool